nRF Connect SDK(NCS)で動かすNordic nRF5340モジュール開発キットの使い方①開発環境のセットアップ編

こんにちは、ムセンコネクトの蟹沢です。
今回はNordic nRF5340モジュールの開発キットの使い方について解説していきたいと思います。
はじめに
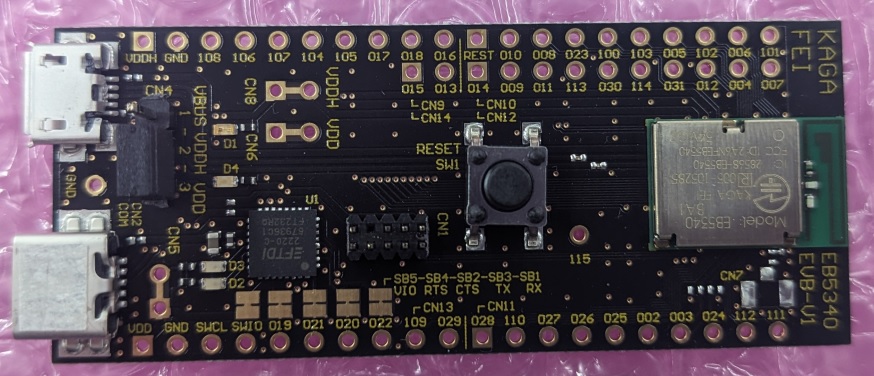
本記事では、nRF5340が搭載されている加賀FEI製の「EB5340BA1-EVB評価ボード」にプログラムを書き込み、動作するまでの方法を説明します。
内容は以下の通りとなっており、ボリュームが多いため全3回に分けて解説していきます。第1回目の今回は開発環境のセットアップです。
- 開発環境のセットアップ
- プロジェクトの作成(第2回で解説)
- プロジェクトのビルド(第2回で解説)
- 評価ボードへの書き込み(第3回で解説)
- 動作確認(第3回で解説)
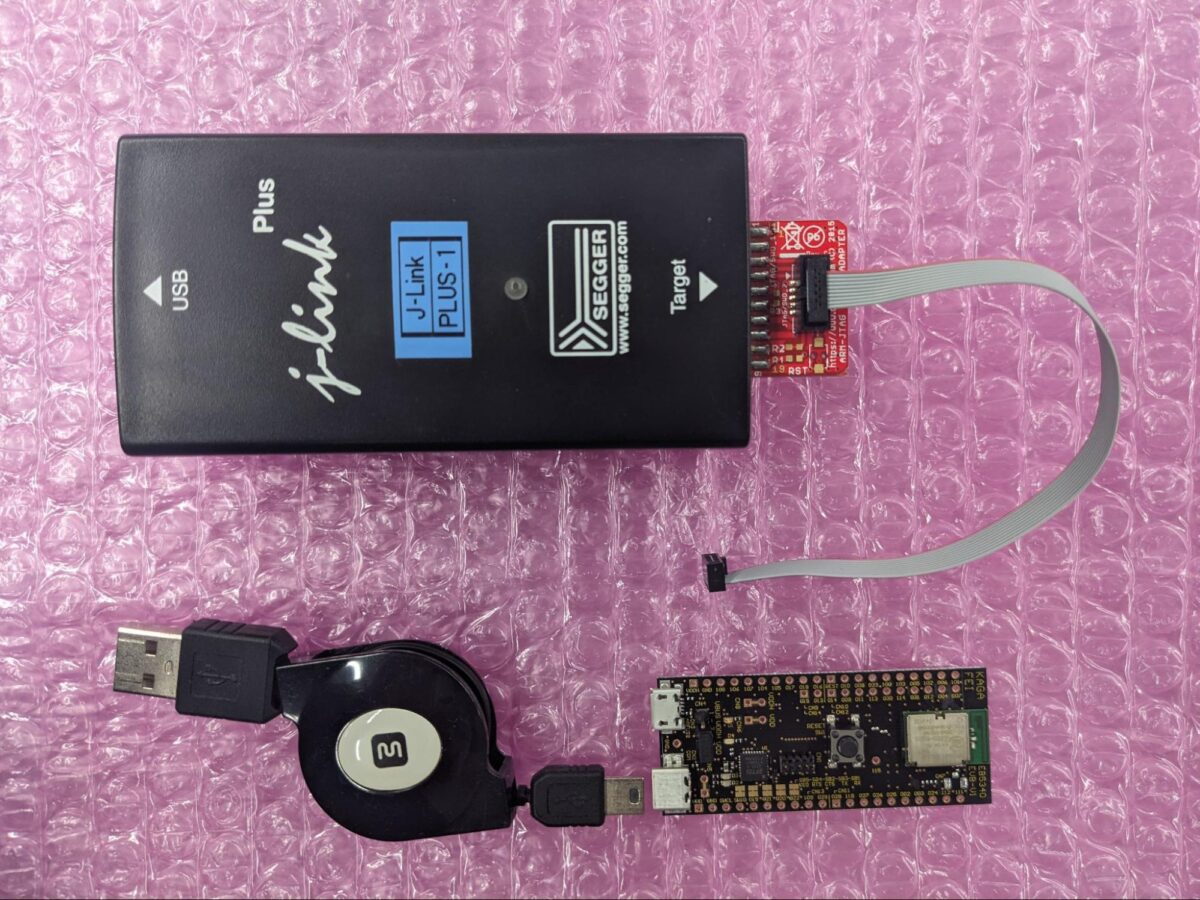
なお、使用する機器はEB5340BA1-EVB評価ボードの他に、プログラムを書き込む為のJ-Link、または、J-Link LITEなどが必要です。
評価ボードのデータシートは以下のサイトからダウンロード可能です。
開発環境のセットアップ
Windows10を使用した開発環境のセットアップを説明します。
以下のソフトウェアをインストールする必要があります。
- nRF Connect for Desktop
- VS Code(nRF Connect拡張機能含む)
- nRF Command Line Tools
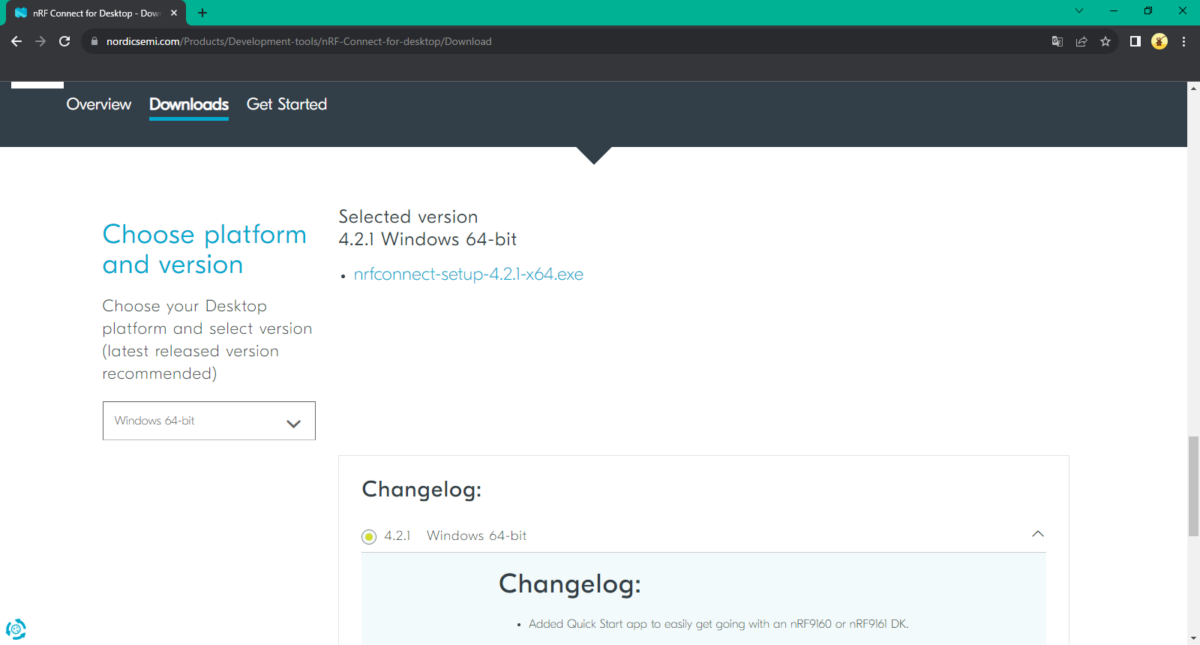
nRF Connect for Desktopのダウンロード
以下のサイトからインストーラをダウンロードします。
nRF Connect for Desktopのインストール
ダウンロードした「nrfconnect-setup-4.2.1-x64.exe」を実行し、nRF Connect for Desktopのインストールを開始します。
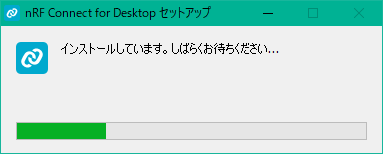
インストーラを実行すると、以下のダイアログが表示され、nRF Connect for Desktopのインストールが開始されます。
また、J-Linkドライバのインストールも行われます。J-Linkドライバのインストールは、後述する「J-Linkドライバのインストール」項目を参照してください。
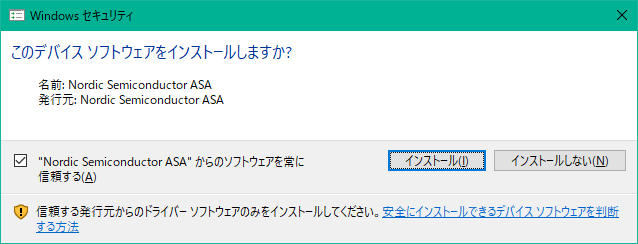
インストールの途中でNordic提供のドライバをインストールしますか?と聞かれますので、”インストール”を押下して、インストールを継続してください。
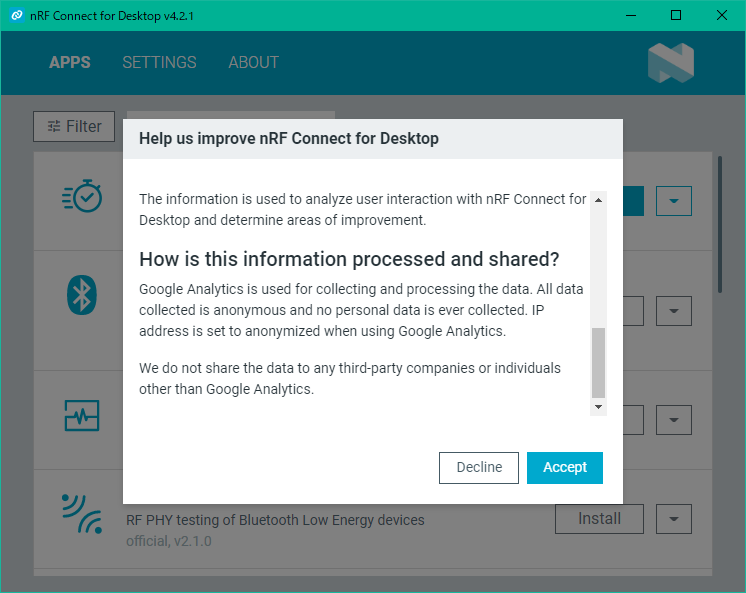
インストールが完了すると、nRF Connect for Desktopのソフトが起動します。
“Accept”を押下し、次に進みます。
Quick Startのダイアログが表示されますが、”Close”を押下します。

インストール完了後に、nRF Connect for Desktopソフトから、各アプリケーションのインストールが可能になります。

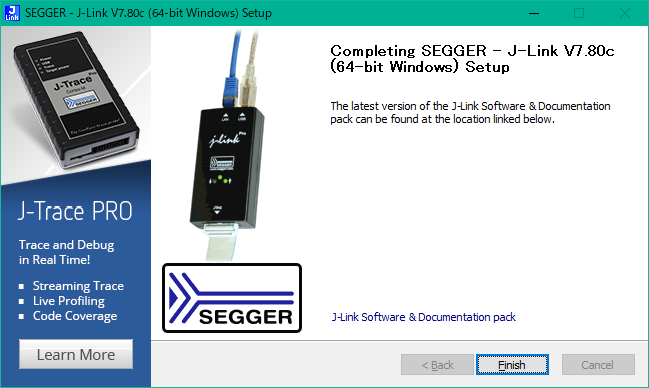
J-Linkドライバのインストール
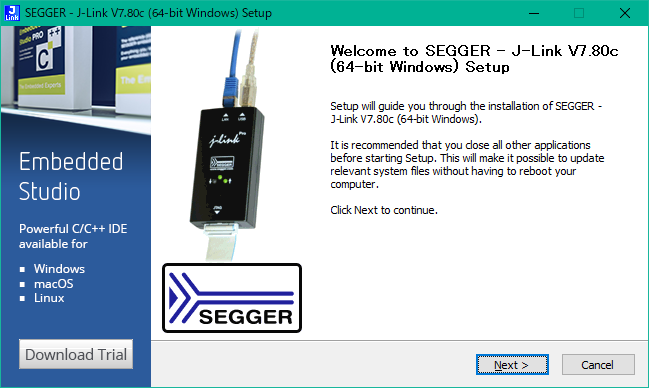
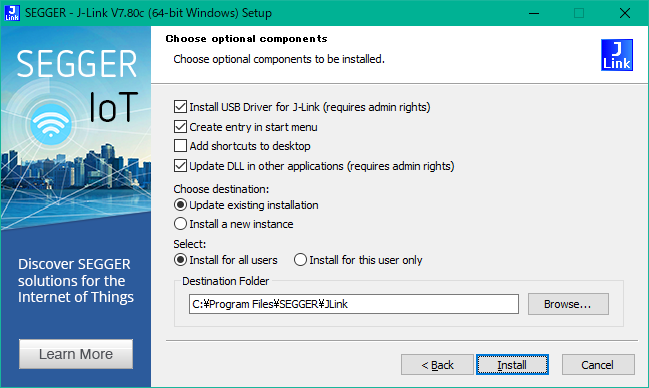
以下のJ-Linkドライバの画面が表示された後に、”Next >”を押下し、インストールを開始します。

nRF Command-Line Tools(コマンドライン)のインストール
インストールしたnRF Connect for DesktopのToolChain Managerを起動するために、nRF Command-Line Toolsをインストールする必要があります。
以下のサイトからnRF Command-Line Toolsのインストーラをダウンロードします。
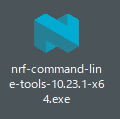
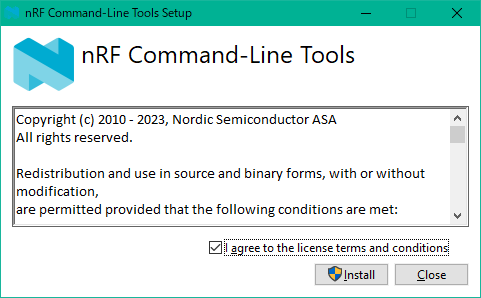
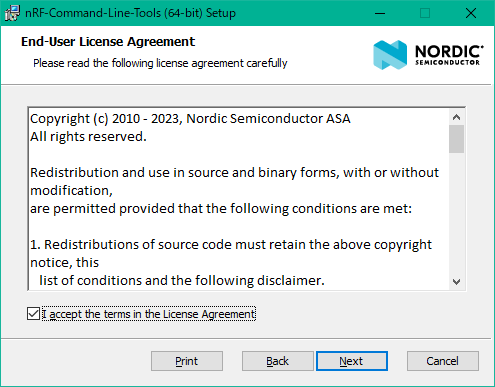
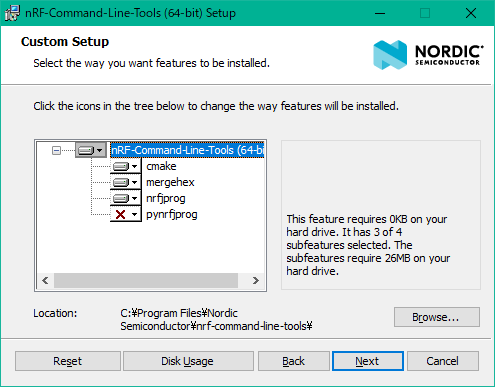
インストーラを実行すると、以下のダイアログが表示されます。

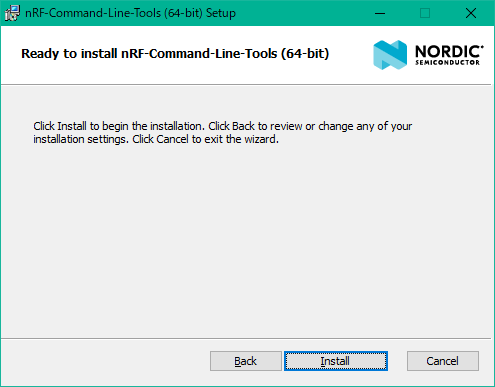
チェックボックスを有効にして、”Install”を押下し、インストールを開始します。
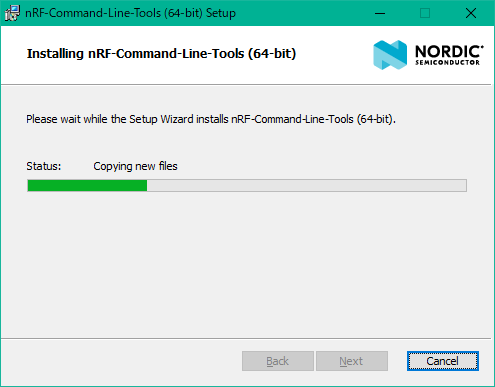
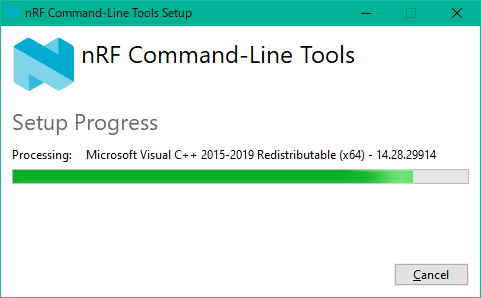
インストール実行中…
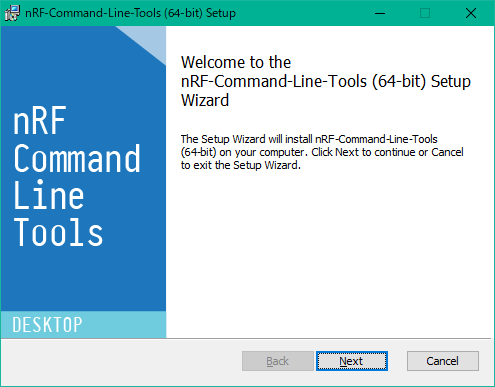
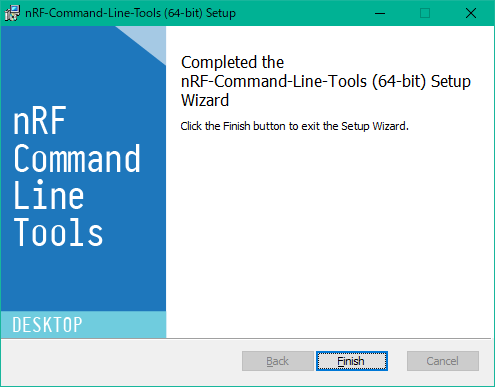
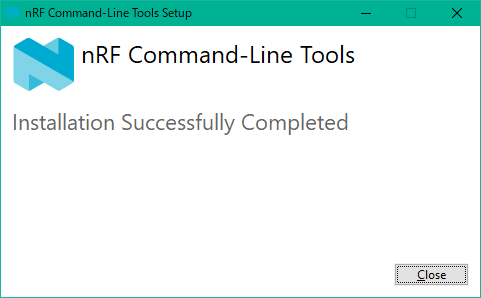
インストールが終了すると、以下のダイアログが表示されます。“Finish”を押下し、インストールを終了します。
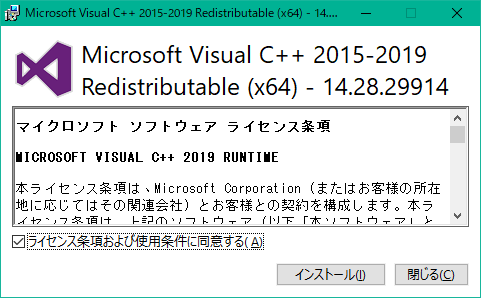
また、並行してランタイムライブラリのインストールが実行されます。ダイアログの表示に従い、インストールを実行してください。
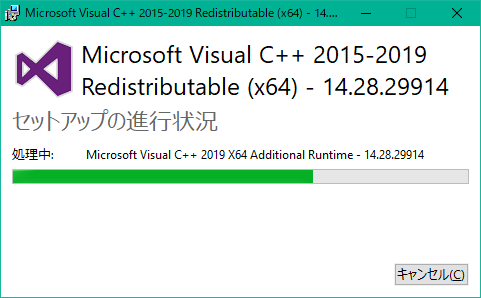
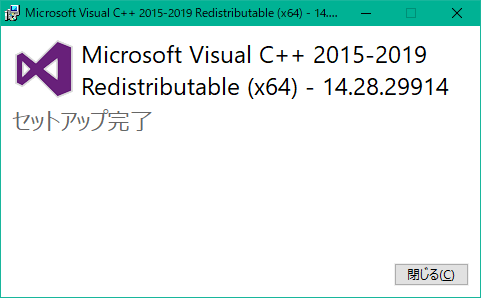
インストールが終了すると、以下のダイアログが表示されます。
ToolChain Mangerのインストール
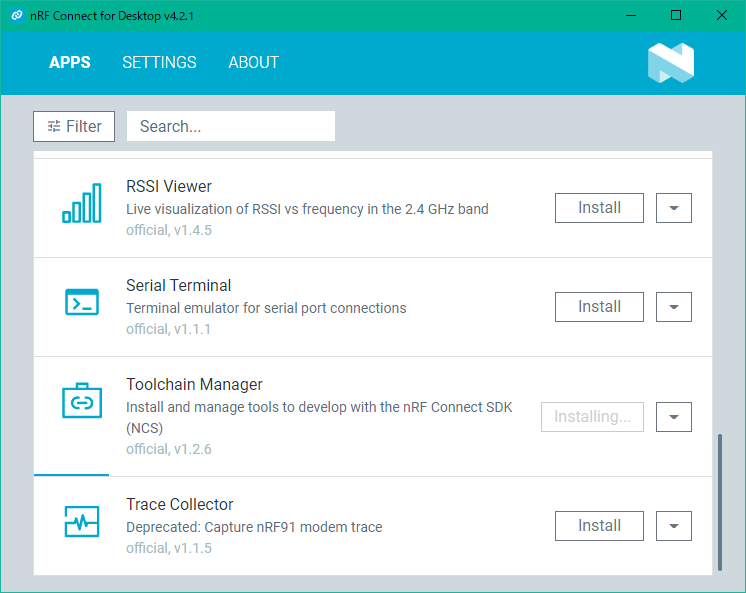
nRF Connect for DesktopのToolChain Managerの”Install”を押下して、インストールを開始します。

Toolchain Managerのインストールが始まります。
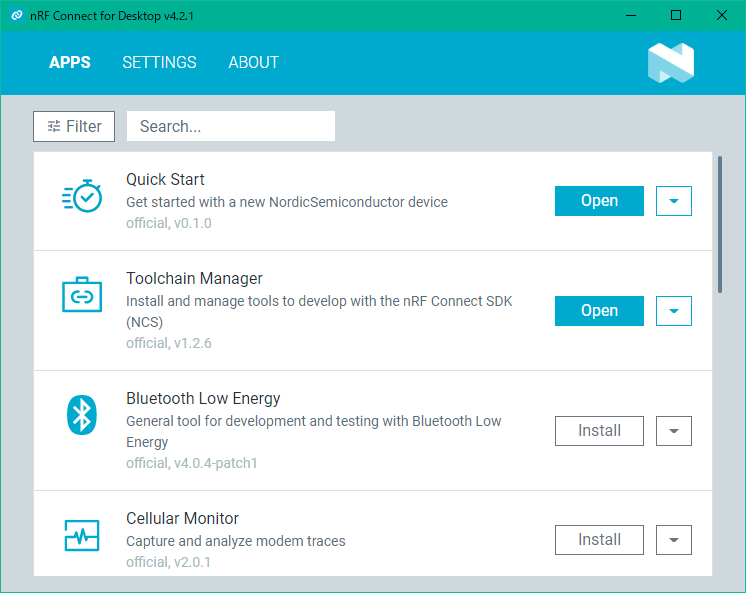
インストールが終了すると、”Open”を押下できるようになります。
nRF Connect SDKのインストール
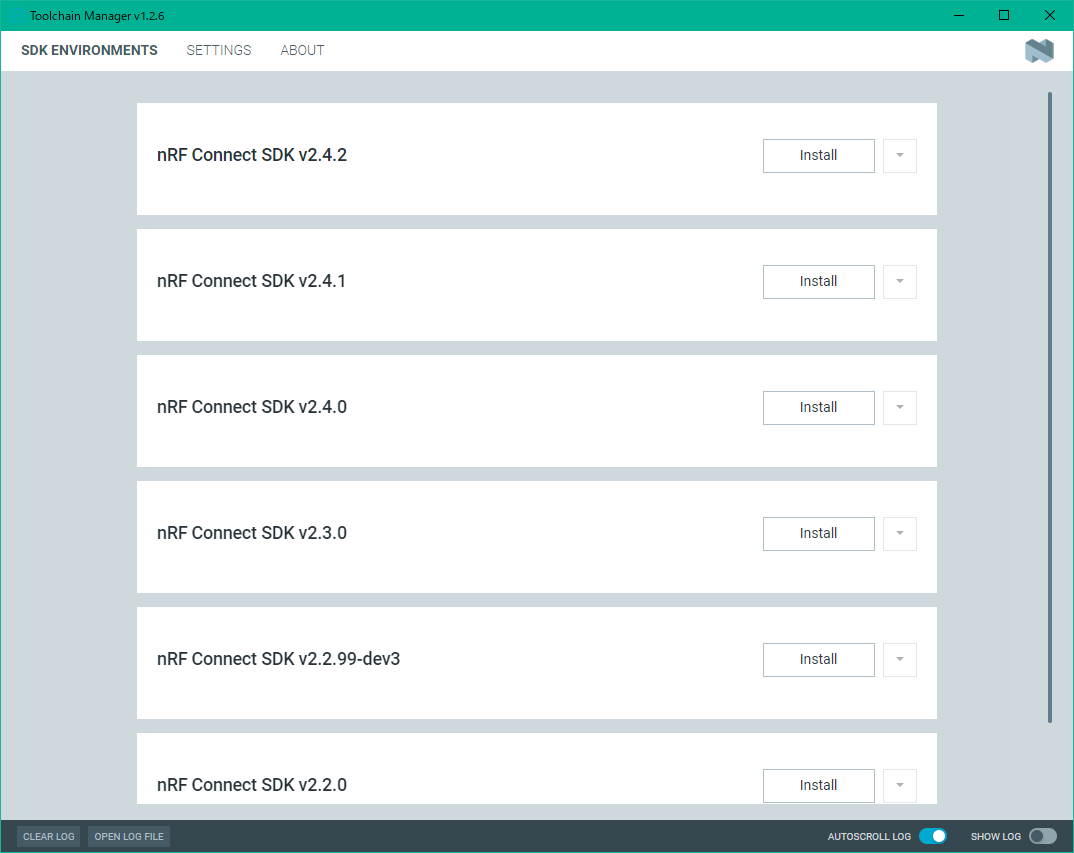
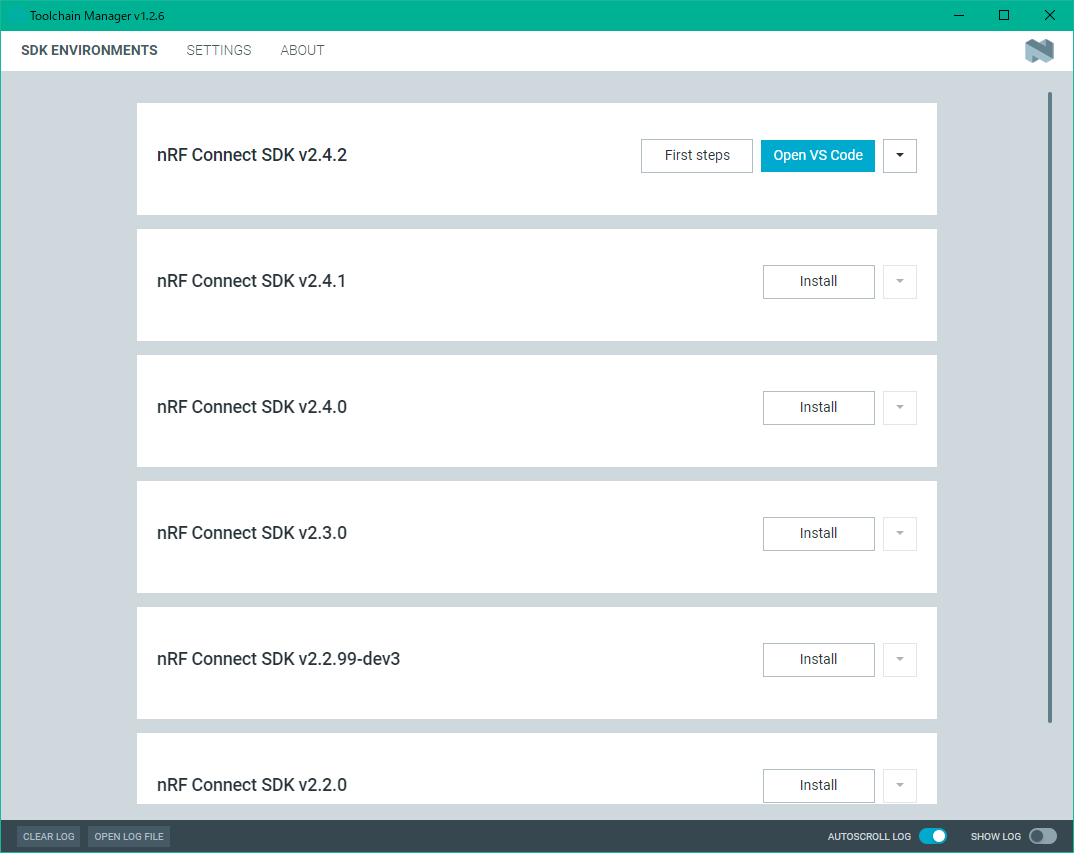
Toolchain Managerの”Open”を押下して、nRF Connect SDKのインストールを行います。nRF Connect SDK v2.4.2の”Install”を押下し、インストールを開始します。
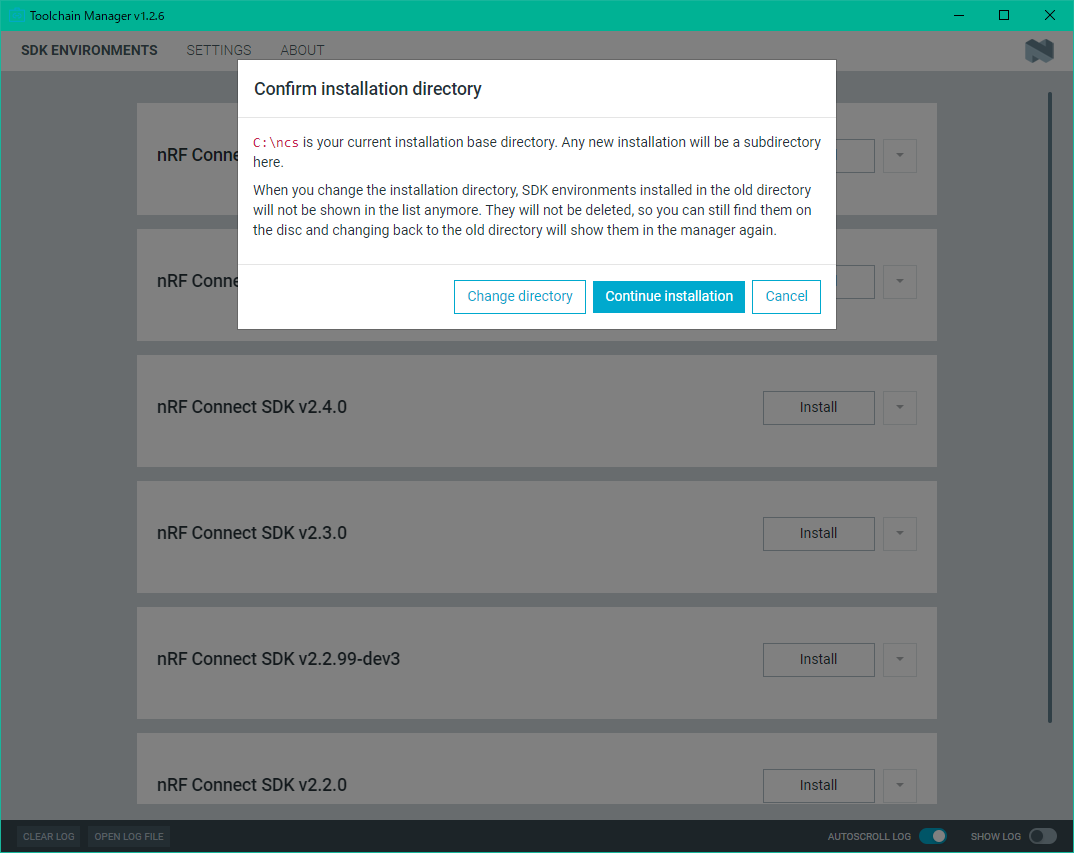
“Install”ボタンを押下すると、以下のダイアログが表示されます。インストール先フォルダを指定し、インストールを開始します。
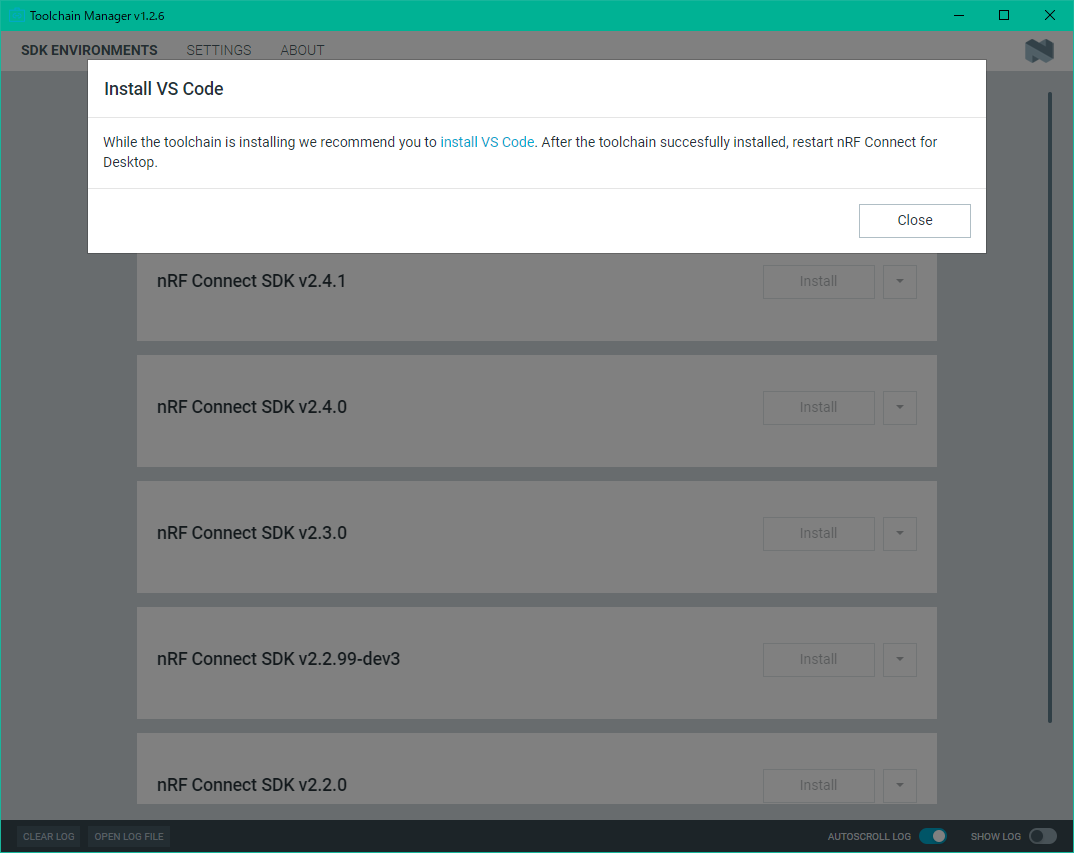
以下のダイアログが表示され、VS Codeのインストールを促されます。VS Codeは別途インストールしますので、ここでは”Close”を押下し、nRF Connect SDKのインストールを継続します。
nRF Connect SDKのインストール中の画面です。インストールには時間がかかります。
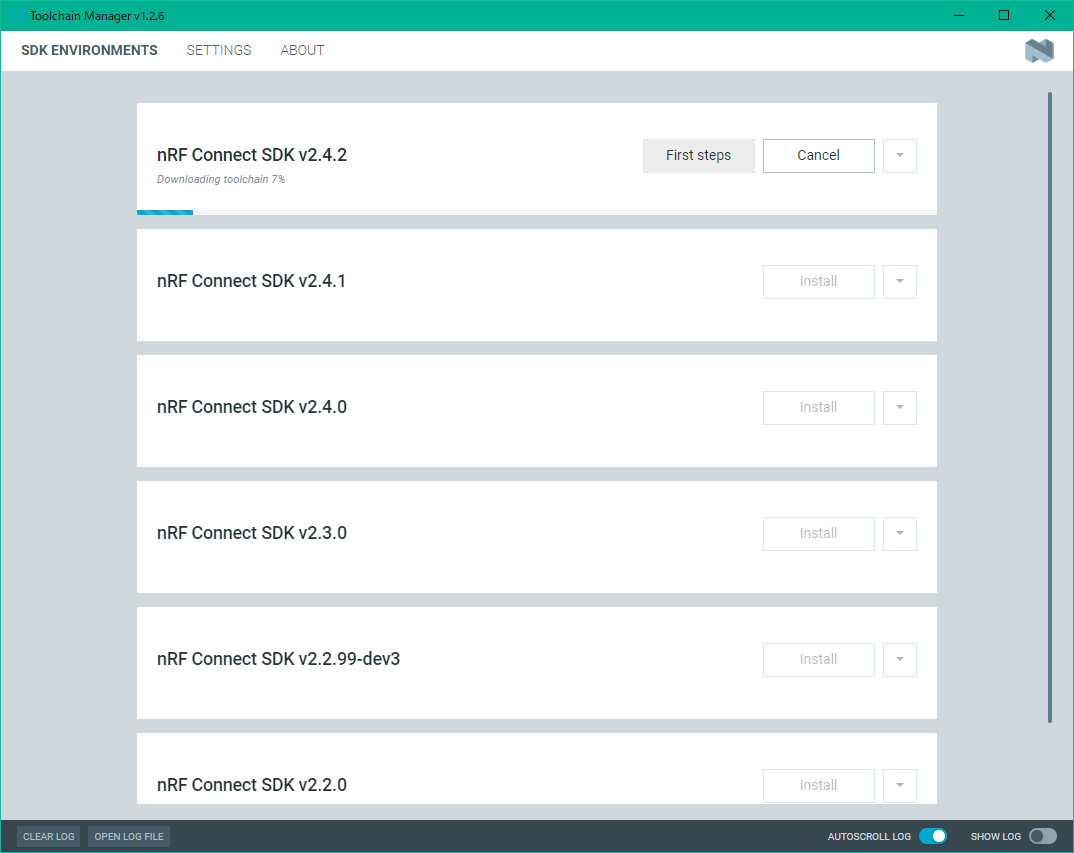
nRF Connect SDKのインストールが終了すると”Open VS Code”が押下できるようになります。次は、VS Codeをインストールします。

VS Codeのインストール
以下のサイトからVS Codeのインストーラをダウンロードします。


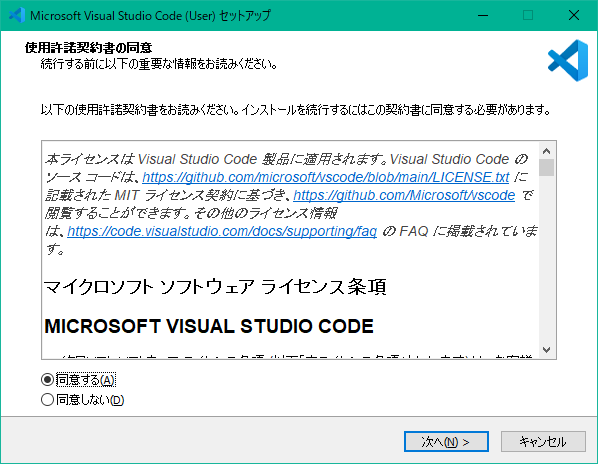
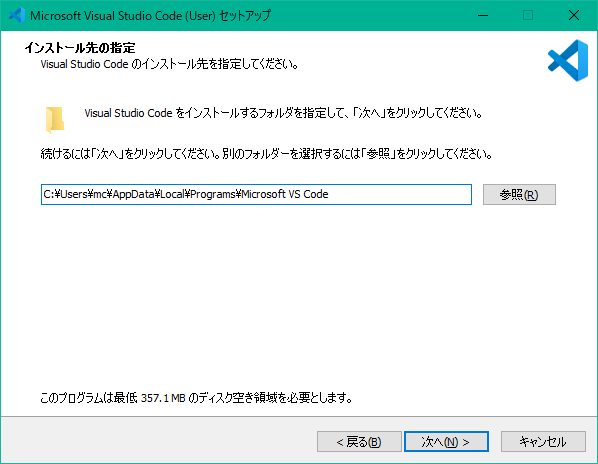
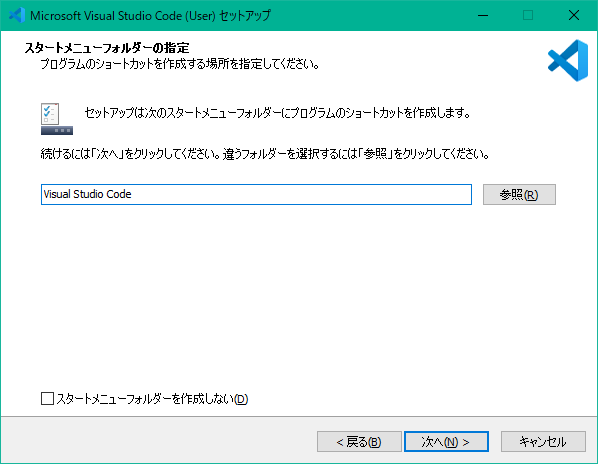
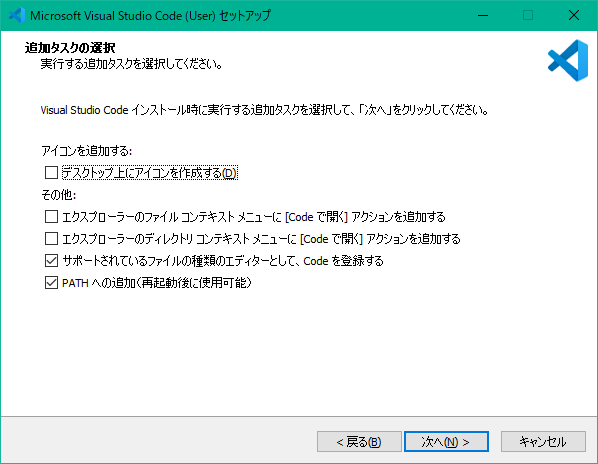
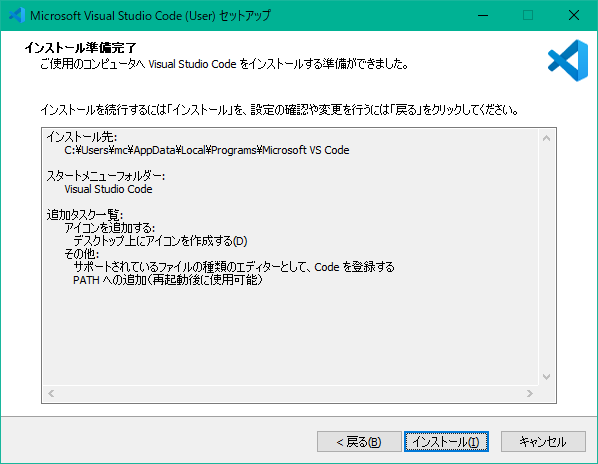
VS Codeのインストーラを実行し、VS Codeのインストールを開始します。
VS Codeの拡張機能のインストール
nRF Connectの拡張機能をインストールします。Toolchain Managerの”Open VS Code”を押下します。
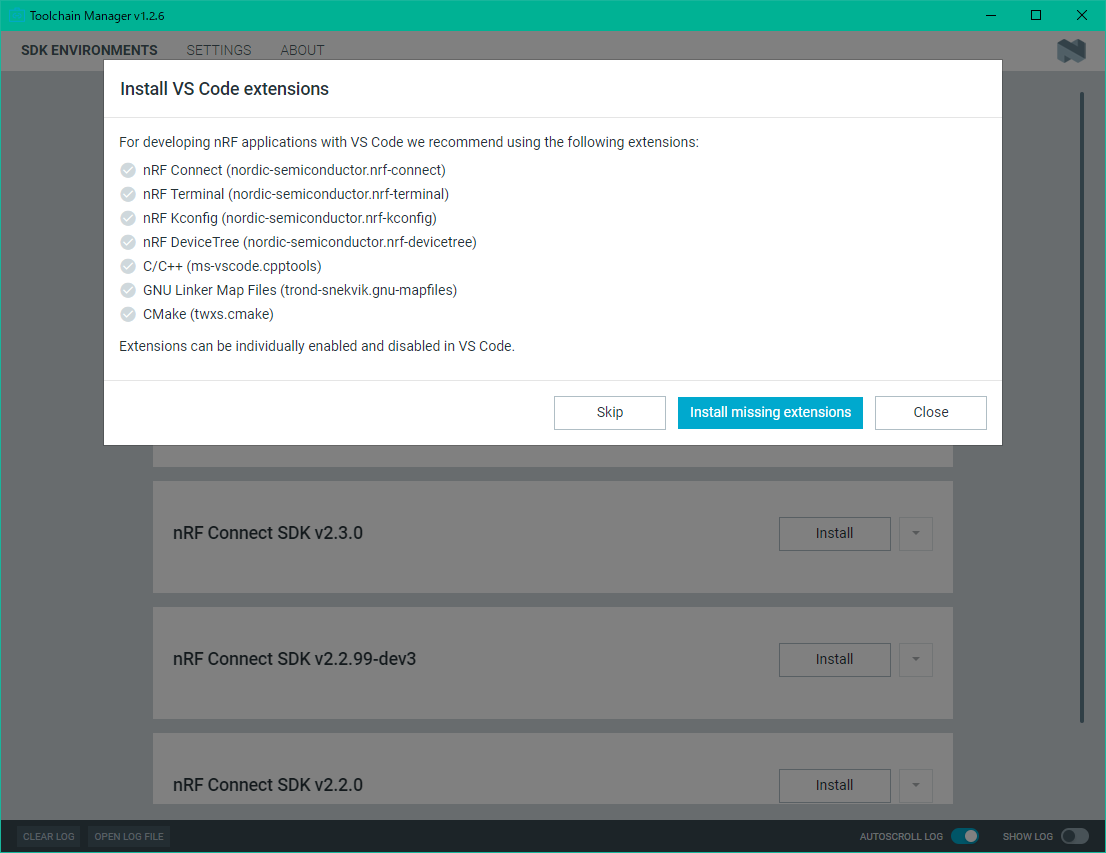
“Install missing extensions”を押下し、必要なツールを一括インストールします。
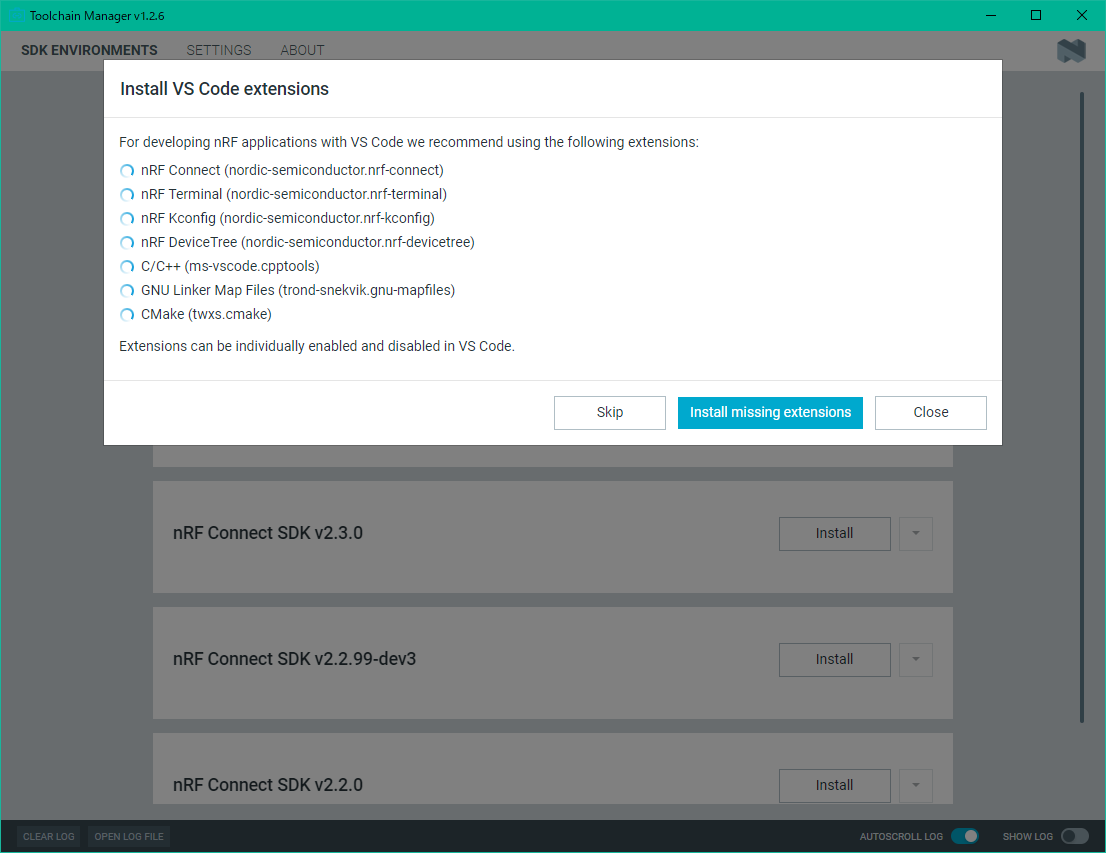
インストール中…
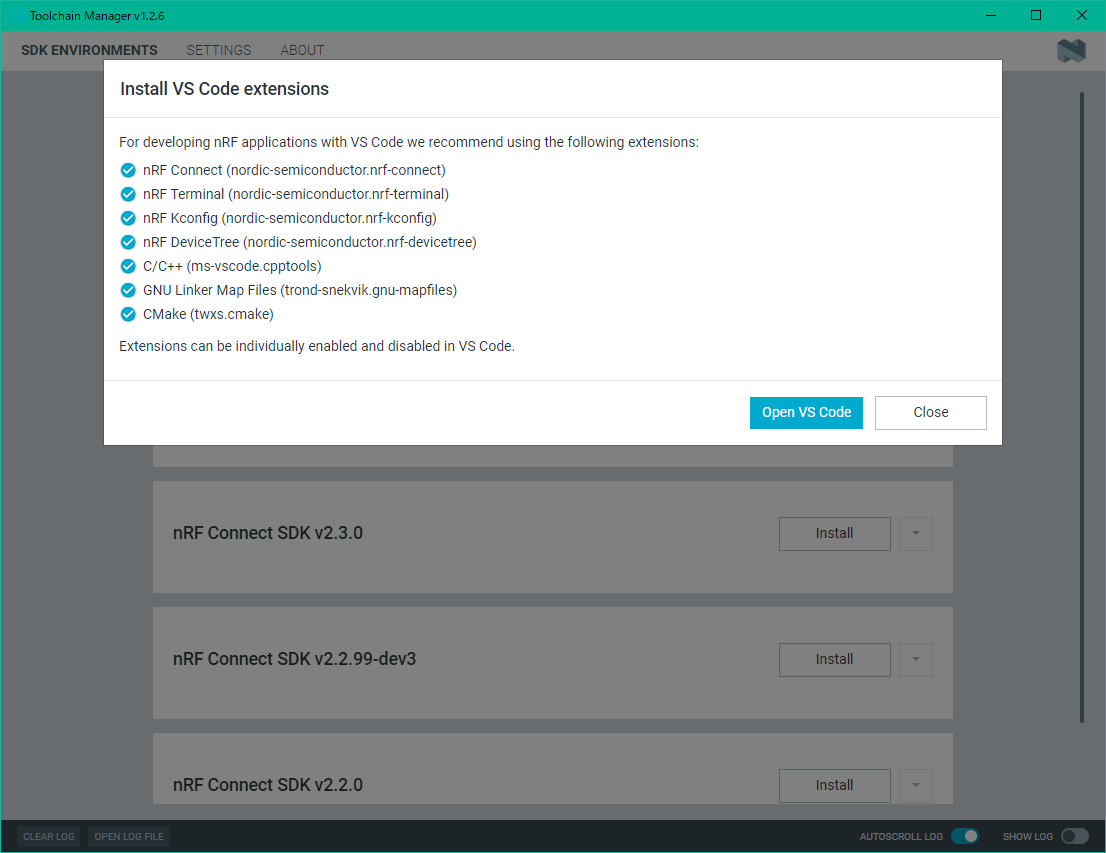
インストール完了後に、”Open VS Code”を押下し、VS Codeを起動します。
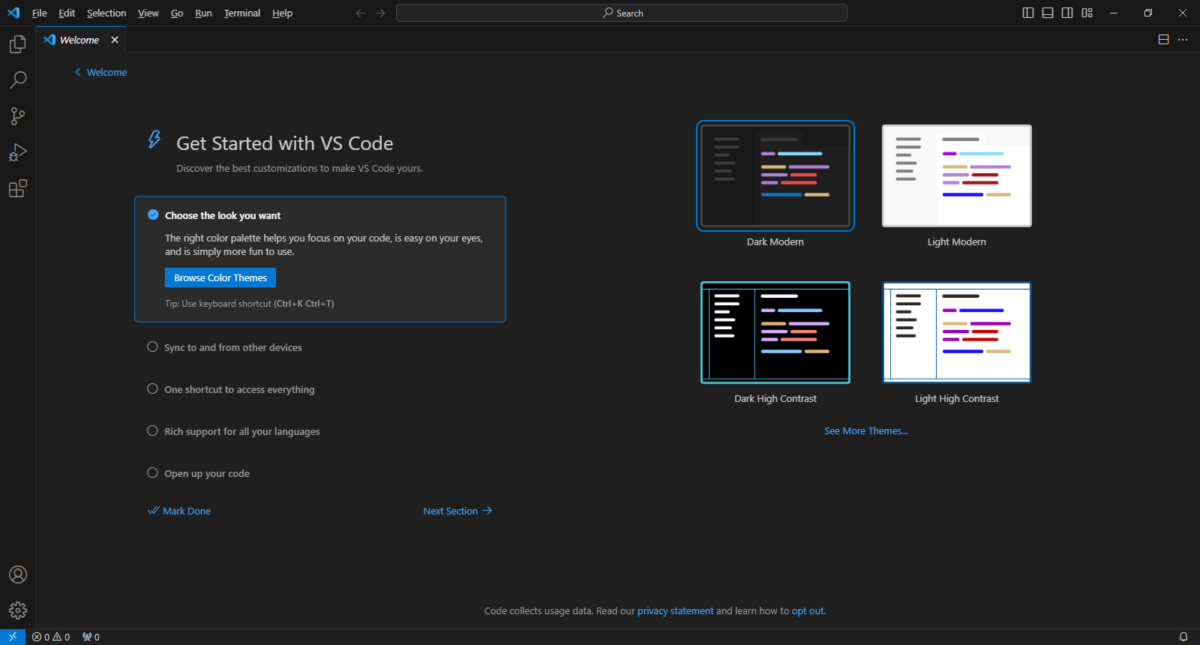
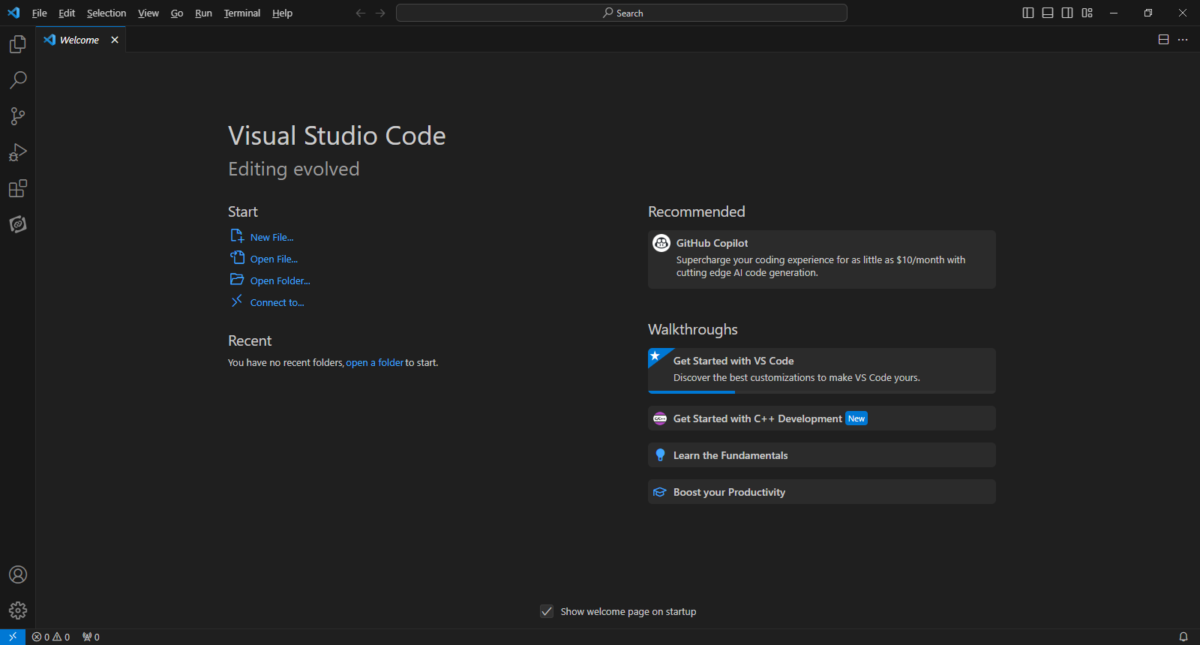
VS Codeを起動したときの画面です。
左側にnRF Connect for VS Codeという項目が追加されています。
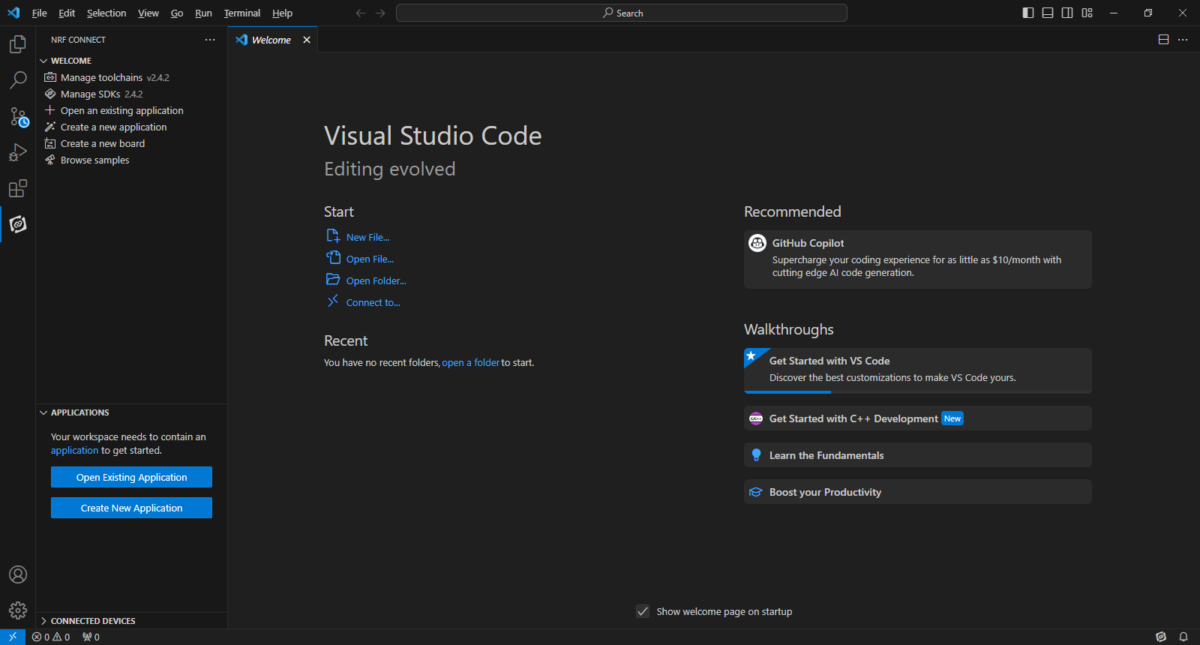
以上で開発環境のセットアップは完了です。
次の記事ではプロジェクトの作成とビルドについて解説します。